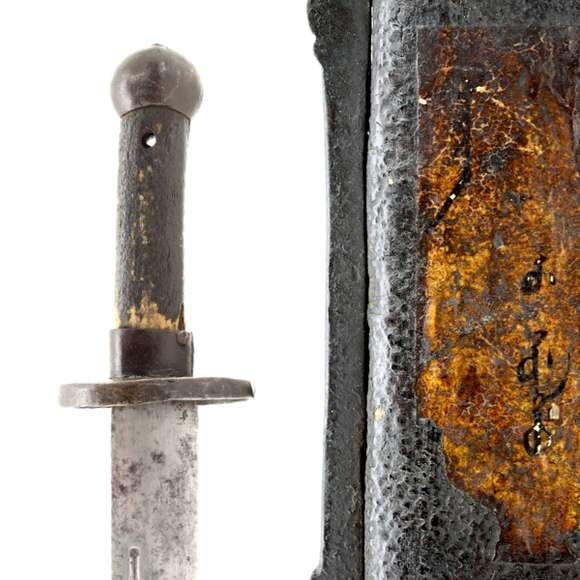
Ever since I acquired an antique Chinese tengpai (籐牌) or "rattan shield" I had been wanting to figure out how to make these. I ordered rattan of appropriate type and dimensions at a local rattan supplier and got working. Below is a brief description on how to do it.

The antique shield that started all this, acquired from a Dutch collector back in 2008.
MAKING A SHIELD
Materials
Rattan with a round cross-section of about 9 mm thick appears to have been the norm for the spiraling core of Chinese rattan shields. In my old shield, of practical battlefield quality with rustic finish, this varies a little from 8 -10 mm. For the wrapping band, the type with the tough skin still on it is optimal. Wrapping band should be 5 or 6 mm wide for a normal shield. High-end Vietnamese and Tibetan shields use much narrower wrapping band, increasing the time needed to construct them considerably. For the loops in the handle handle system one uses 4 or 5 mm thick rattan of round cross-section. The handle bar is a wooden dowel, I chiseled both ends to fit the shield's interior.
As for numbers, my last shield contained:
-about 60 meters of 9 mm thick rattan core of round cross-section, with no skin.
-about 4 meters of 5 mm thick rattan core of round cross-section for the handle system, with no skin.
-about 600 grams of 5 mm wide wrapping band.
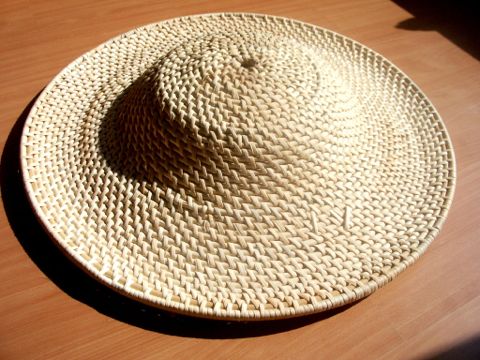
The resulting shield is 75 cm in diameter with a 14 cm high dome.
Time
A shield took me about 40-45 hours to make including the oiling, paint and lacquer jobs. The narrower the wrapping band, the more connections and thus the more work. More conical shields will contain more tiers and thus also more work. So a highly conical shield with narrow band is the most time-consuming shield to make, while a flatter variety made with wider band takes less time.
Treatment
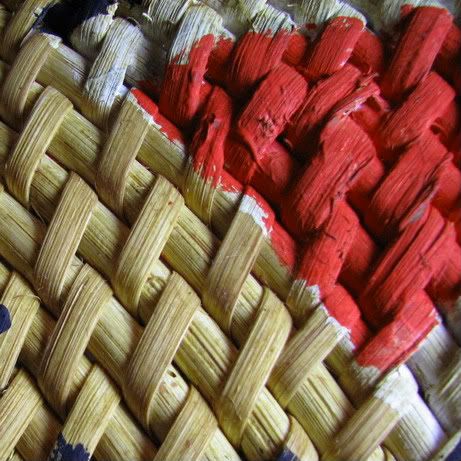
The first shield was already usable, but because of its dryness some of the connections cracked in use. With over a thousand connections and a handful broken now, there is no effect to the structural integrity of the shield but I didn't see this on old shields. Rattan is very porous and willingly sucks up any liquid substance. I think its quality and lifespan can benefit from finding the right oil to treat it with. When soaked in tung oil, the shield gets much tougher because the Tung oil penetrates the fibers and dries up to a rubberish substance. An advantage of tung oil is that one can still paint over this when it is dried. Finishing the shield with a thick lacquer layer also helps fixating the entire shield, strengthening the whole. The layer of paint on my antique shield is really thick, perhaps for this purpose.
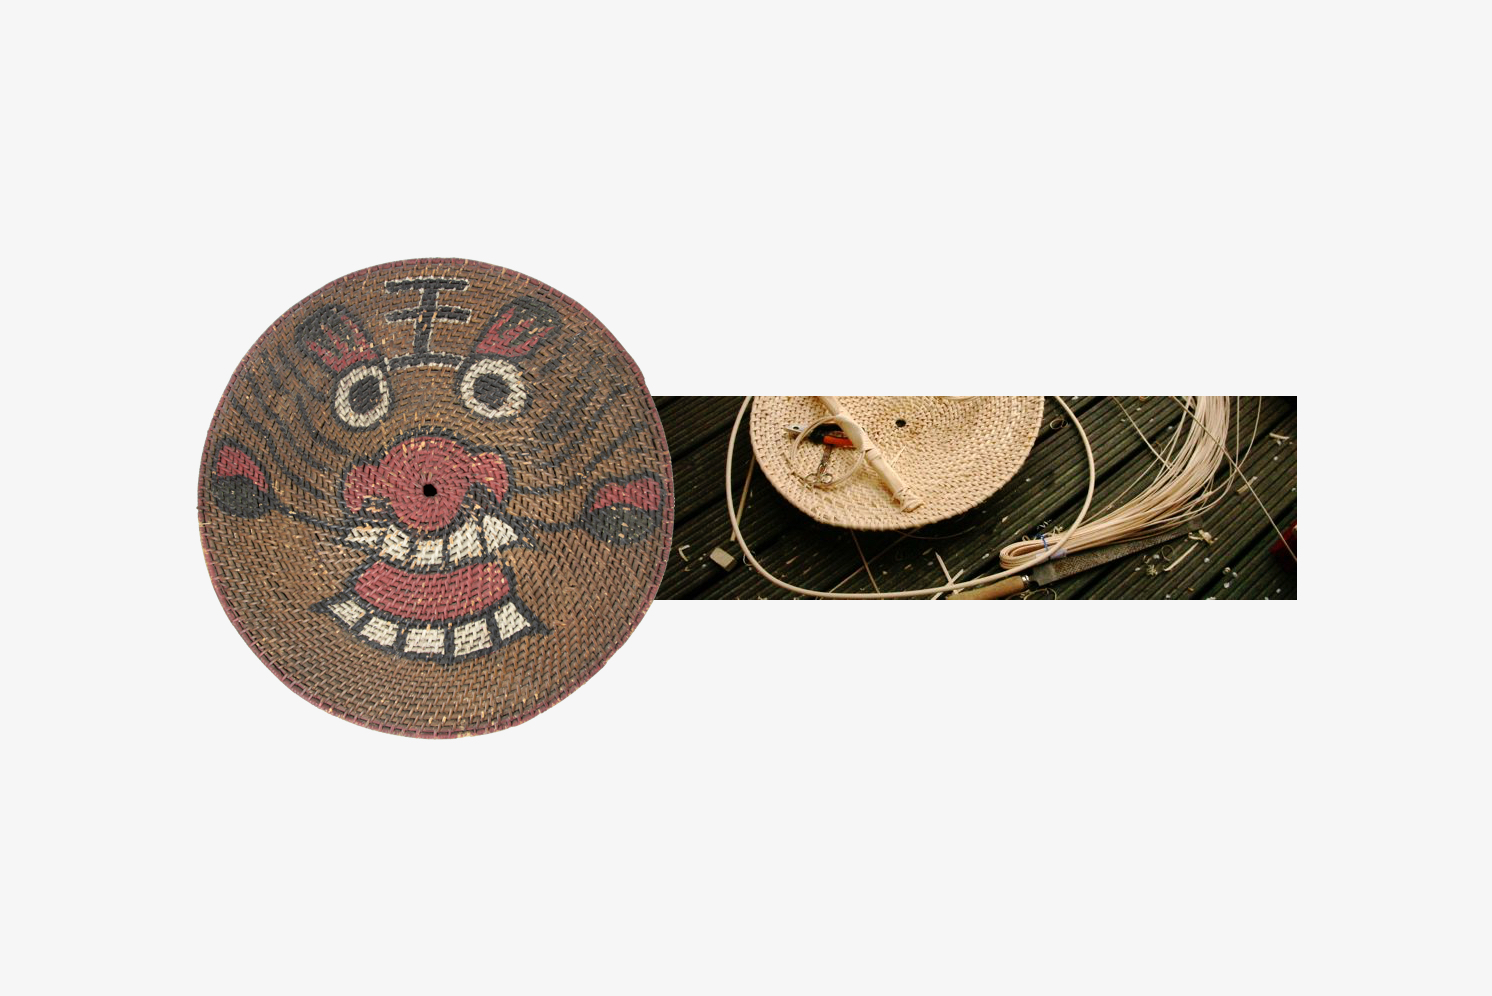
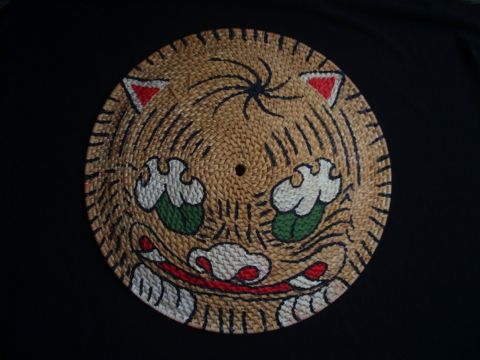
The shields were frequently painted with tiger designs. One reason is to look fierce and scary; According to period eye-witnesses they were trained to scare horses with a combination of screams, rolls, brandishes of the brightly painted shields and fireworks. The other is that the word for tiger in Mandarin, hu, sounds exactly like the verb "to protect". Tigers were frequently seen as protecting deities, and it is known that some Chinese hung tiger signs outside their houses to ward off evil spirits. Tiger faces also appear on hats given to young children to ward off evil. The tiger symbology as both a fierce animal and a protecting deity had a positive effect on the morale of the often incredibly superstitious foot soldiers of the time. The Qing tengpaiying even had tiger outfits, some complete with a hood with ears, eyes and whiskers!
THE BIRTH OF A TENGPAI
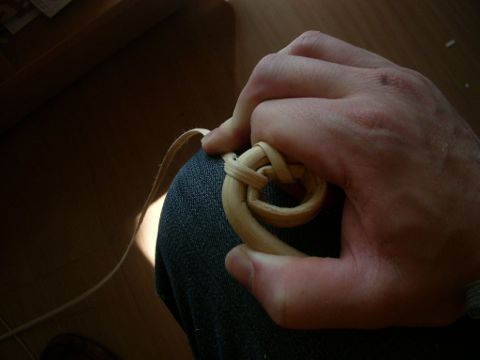
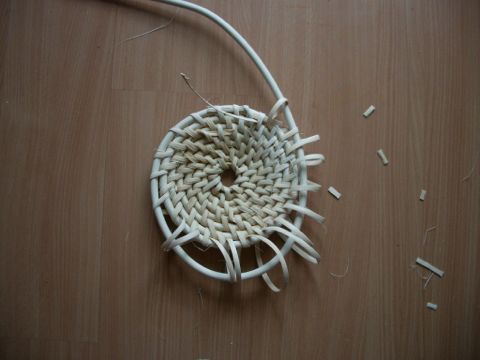
The beginning of the rattan shield. This is the hardest part one has to keep it from expanding constantly until the ring is big enough to support its own. Wrap this very tight or else the center can be pressed inwards and will be very weak.
Proceeding...
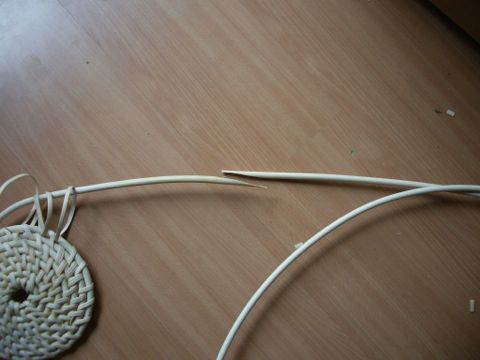
At the end of the rattan one uses a diagonal splice. When executed properly these will not be weak spots in the shield.
Finished splice.
This picture shows how to splice the wrapping band.
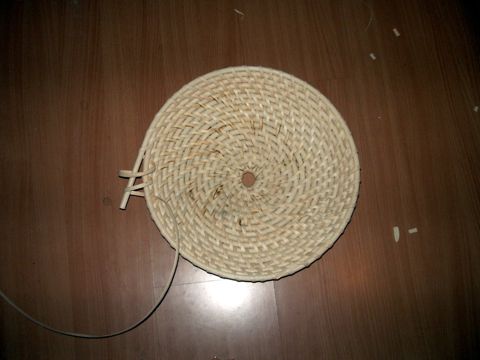
Shield nicely progressing, nearly time to add the elbow ring.
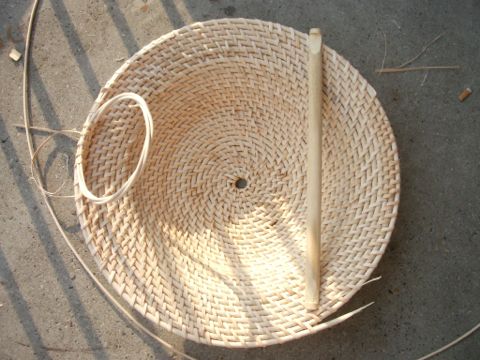
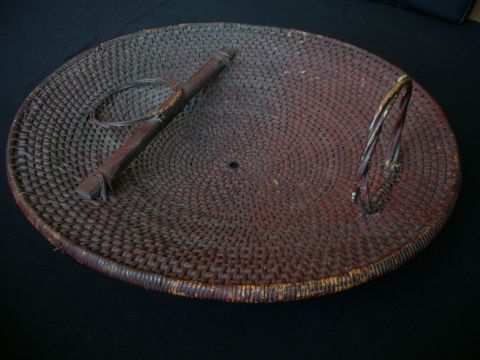
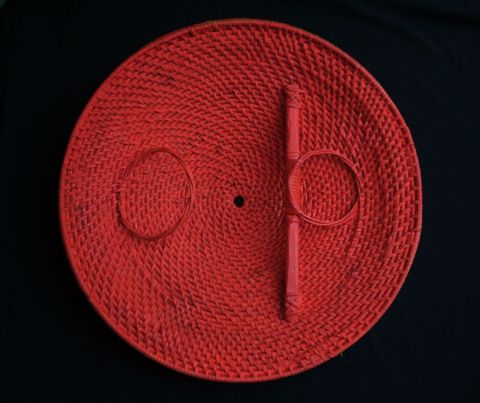
Time to construct the handle system. Note that the elbow rim is weaved into the shield when making it. The bar can be added later when the entire shield is done.
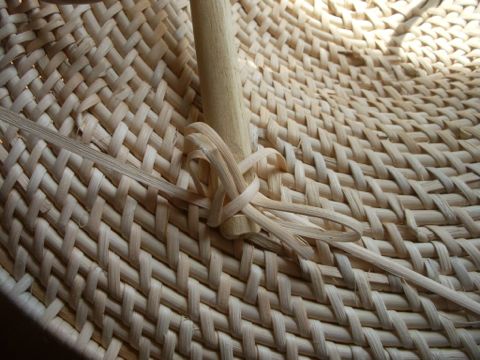
Attaching the handle bar. First make the entire knot, THEN tighten the whole. Make sure not to damage previous wraps in getting the band through the shield.
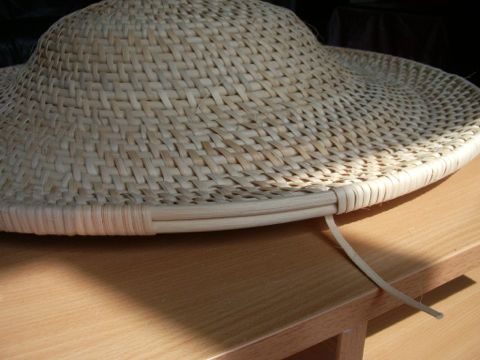
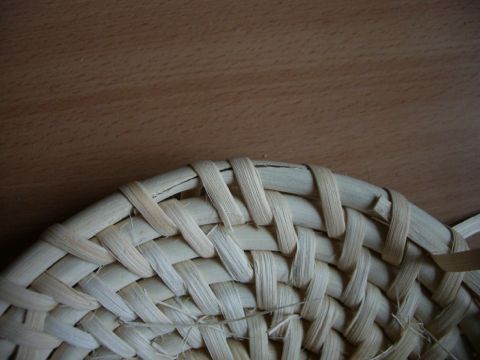
On the very edge, two rims all wrapped in wrapping band finish the shield. This is harder than it looks, and requires the places of the splicings to be well-calculated: They should not fall in one place or the shape will be distorted and a weak spot will be created.
The finished, yet undecorated shield.

Old shield (left) and new shield (right).
Something on decoration
When painting the face, first draw it on scale on paper and then measure various points out on the shield for the best result. These may seem rather crude and simple drawings, but they are harder to do than one would think. I underestimated the work on my first shield, and it ended up not looking Chinese at all.
In order for it to look authentic, when decorating a tengpai it is important to let go of your own aesthetics and study the originals thoroughly. I guess that making an accurate reproduction of anything requires a good amount of humbleness from the artisan in order to truly represent the aesthetics of another time and place.
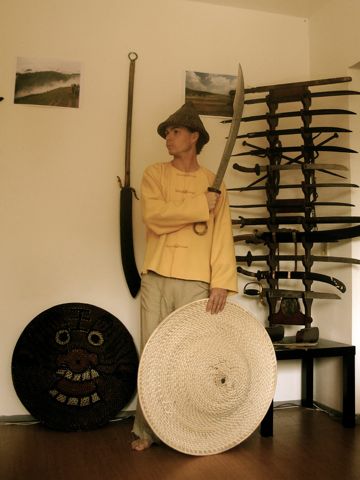
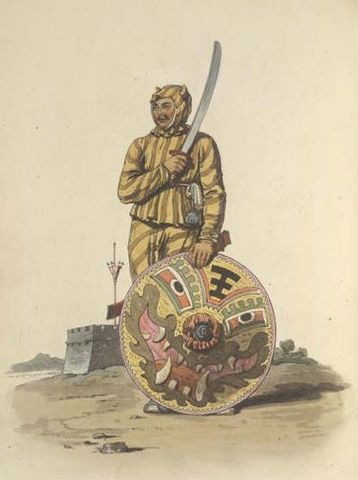
When the shield is done what better way to celebrate than to pose with it in traditional outfit and take various pictures of oneself? To the right: A drawing by William Alexander. Late 18th century.
A FINISHED TENGPAI
I made this tengpai for my good friend Graham Cave of Tiger's Den Swords. It was inspired by an example now in the Palace Museum collection in Beijing.


The original tengpai that served as an inspiration.